
How to Drain and Flush a Water Heater
Whether you've recently installed a new water heater or want to help your existing unit last longer, water heater maintenance is a must. Flushing your water heater removes sediment and helps prevent several common plumbing issues. While some homeowners prefer to hire a professional to flush their water heaters, it's a manageable job for plumbing rookies with the right tools and knowledge.
So, why does flushing a water heater matter, and how often should you do it? Below, we'll explain how to drain a water heater with simple step-by-step instructions.
Why You Should Drain and Flush Your Water Heater
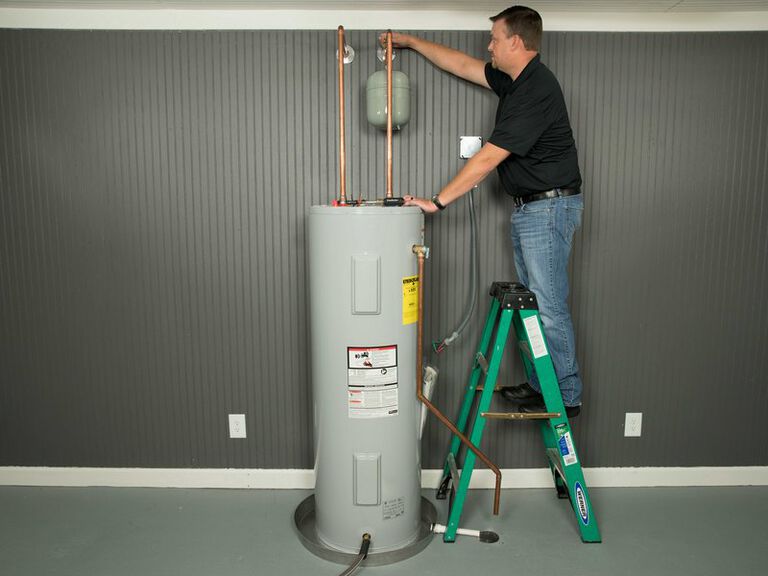
This image is only being used as example and may not reflect the specific unit or part that you may be troubleshooting.
Water heater flushing is an essential part of your home maintenance routine. Over time, minerals and other substances in your water supply can cause sediment buildup inside your unit, increasing the risk of leaks, bad smells and other common water heater issues.
Flushing your water heater regularly helps remove this buildup, prolonging the unit's life span and improving water quality. Minimizing sediment accumulation also improves your heater's thermal efficiency. Therefore, draining and flushing your unit allows your water heater to function correctly and may help reduce your energy bills.
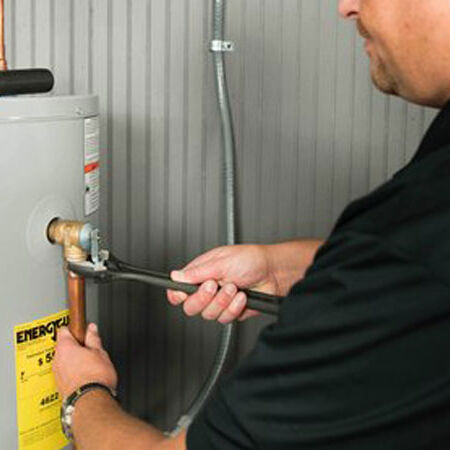
Knowing how to drain a hot water heater is also an important step if you are preparing to remove and replace your unit. If you're unsure of any of the necessary steps or tools involved in a project like this, it may be best to contact a local plumbing contractor for help.
Find A Local Water Heater Pro
A. O. Smith water heaters are professionally installed by local independent contractors.
How Often Should You Flush Your Water Heater?
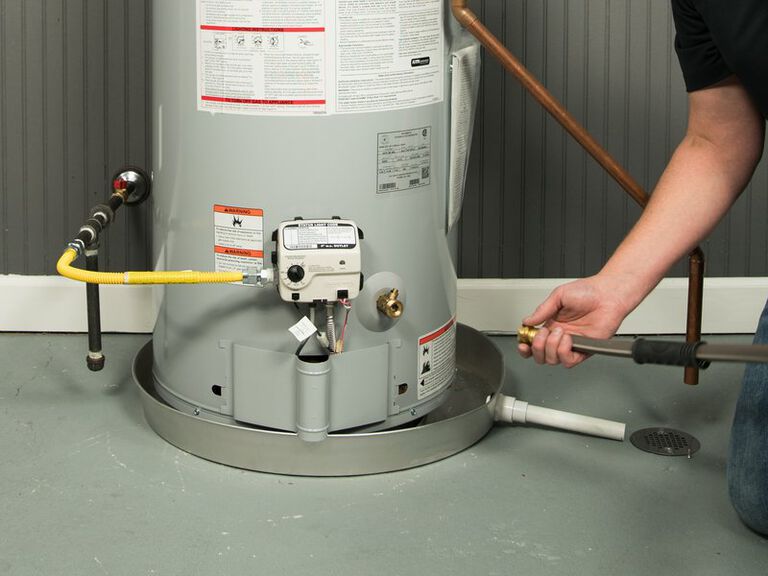
This image is only being used as example and may not reflect the specific unit or part that you may be troubleshooting.
How often you should flush a water heater depends on its type and model. You should always defer to the instructions in your manufacturer's handbook to maintain your water heater correctly.
Explore our collection of A. O. Smith product literature to find the resources you need for your specific model.
Tank Water Heaters
Most types of tank water heaters require flushing at least once per year. If you live in a hard water area, you may need to flush your water heater more often. That's because hard water contains a higher concentration of minerals, increasing the risk of sediment accumulation inside your water heater.
You could also consider flushing your water heater more frequently if you notice signs of sediment buildup, such as strange noises coming from the heater or rust-colored water. However, these issues can have several causes. A qualified plumber can help you determine the cause of your water heater problems and recommend repair or maintenance.
Tankless Water Heaters
Tankless water heaters don’t require flushing because they do not have a tank; however, many tankless water heaters require descaling.
Can I Flush a Water Heater on My Own?
You can learn how to flush a water heater yourself, but understanding the correct procedure for your specific unit is essential. If you're unsure, consider hiring a plumber to flush the water heater for you. A knowledgeable plumber will have the tools and experience to flush your unit safely, and hiring a pro is usually quicker than DIY water heater flushing.
How to Drain a Water Heater (Tank Only)
You should always drain your water heater before removing it.
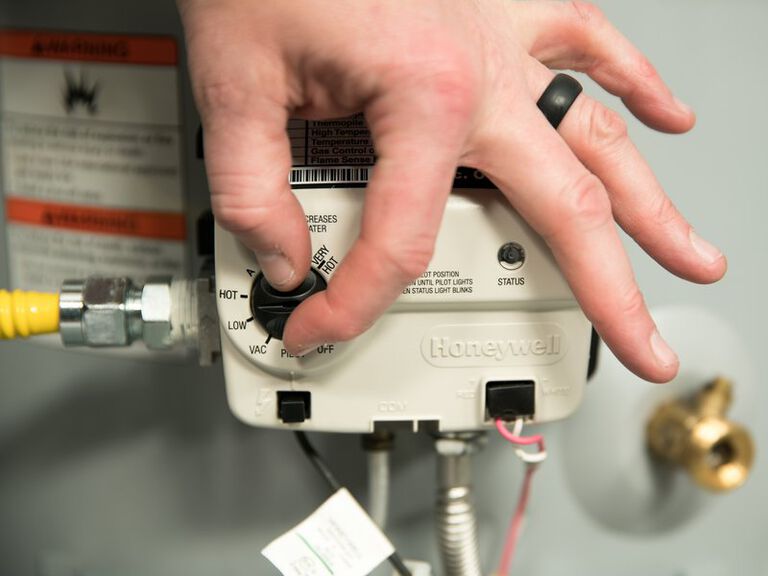
This image is only being used as example and may not reflect the specific unit or part that you may be troubleshooting.
Step 1: Turn Off the Power Supply or Gas Line
Ideally, you should turn your water heater off for a few hours before draining the tank. Turning the unit off beforehand allows the water to cool and reduces the risk of scalds. Always wear thick gloves and safety goggles to protect your skin while you drain the water heater.
Turn off an electric water heater by flipping the circuit breaker on your main breaker panel. If you have a gas water heater, you can turn the unit off by moving the dial on your thermostat to the "OFF" position.
Step 2: Turn Off the Water Supply
First, turn off the water supply using the valve on the supply pipe or your main water shutoff valve by turning it clockwise. Ensure you know where the main water valve is if you don't turn off the supply to your whole house. Knowing how to stop water flowing into your plumbing system can help prevent floods if you make a mistake while draining your water heater.
This image is only being used as example and may not reflect the specific unit or part that you may be troubleshooting.
Step 3: Find a Safe Place to Direct the Water
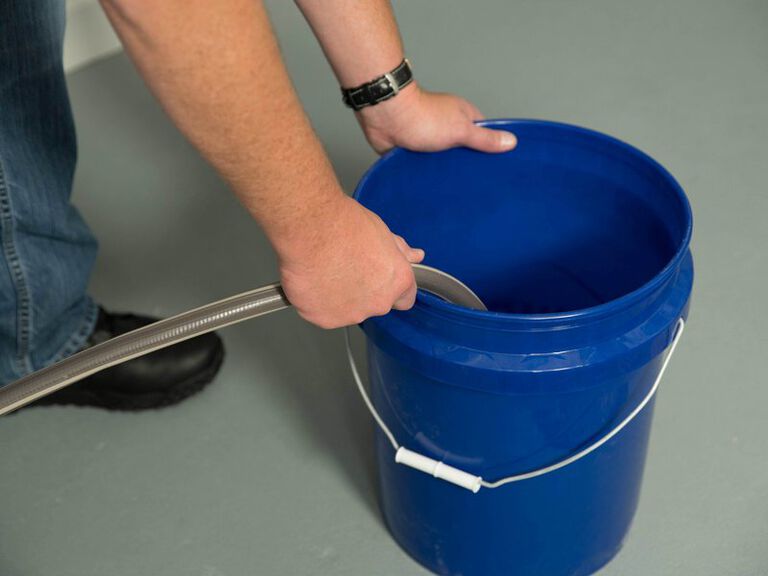
You'll need to direct the water into a safe place to avoid flooding your home. Most homeowners use a large bucket to catch the water flowing from the drain valve. Alternatively, you could direct the water down a drain if your hose can reach that far. It's also worth having old towels or rags on hand to soak up any spills.
Step 4: Connect a Hose to the Drain Valve
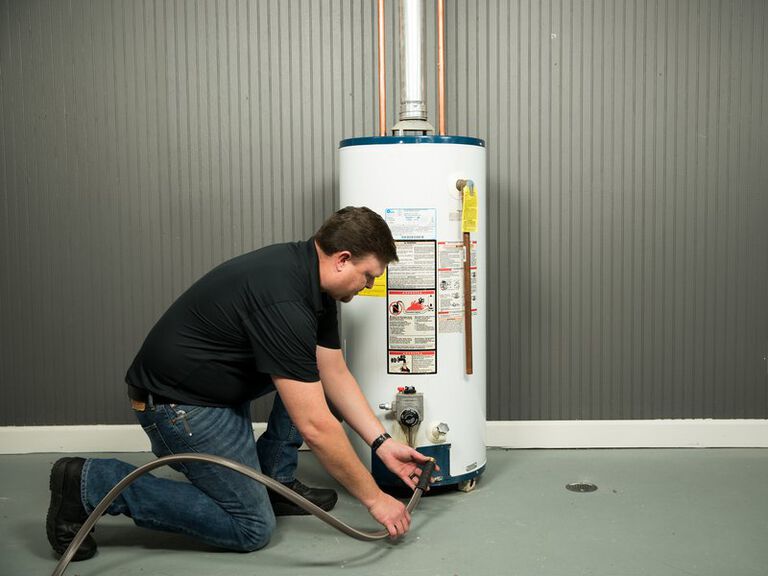
Attach your garden hose to the drain valve at the bottom of your water heater. Your user manual can help you locate the water heater drain valve if you can't find it. Depending on the valve type, you may need to connect a threaded hose cap to ensure a watertight fit. Place the other end of your hose inside the bucket or exterior drain.
This image is only being used as example and may not reflect the specific unit or part that you may be troubleshooting.
Step 5: Turn on a Hot Water Tap in Your Home
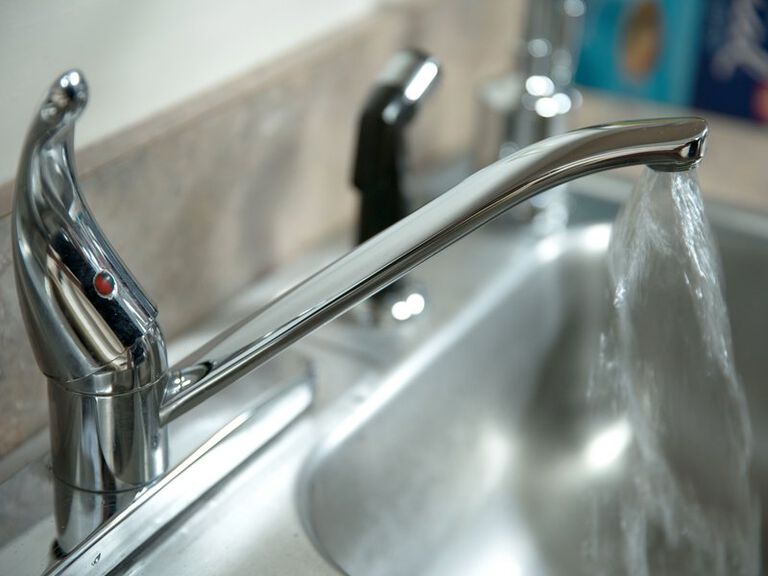
Turn on a hot water faucet in your sink to prevent pressure from building up inside your plumbing system. If you've shut the water off correctly, the tap should release a gush of water followed by a slight trickle. Close the water supply valve more tightly by turning it clockwise if the water continues flowing normally.
Step 6: Open the Drain Valve
Finally, open the water heater's drain valve to release water into the bucket. Most water heaters have manual-open drain valves, but you may require a flathead screwdriver if you can't open the valve by hand. Water and sediment will flush through the hose and into your bucket or drain. If you're using a bucket, turn the drain valve off as your bucket fills and empty the water to prevent it from overflowing.
How to Flush a Tank Water Heater
Flushing a tank water heater is relatively straightforward and involves many of the same steps as draining the tank. Refer to your owner's manual for official maintenance instructions. Find A. O. Smith product manuals to reference specific guidance on your particular water heater model.

This image is only being used as example and may not reflect the specific unit or part that you may be troubleshooting.
Step 1: Turn Off the Heating Source
You should turn off your water heater's heat source before flushing it to reduce the risk of scalds. If you have a gas model, turn off the gas valve supplying your water heater. Switch off an electric water heater by turning off the electricity supply at the breaker or disconnect.
Step 2: Find a Place to Drain the Water
Like draining a water heater, you'll need somewhere for the water to flow when you flush your tank. Use a large bucket or empty your heater into a nearby exterior drain.
This image is only being used as example and may not reflect the specific unit or part that you may be troubleshooting.
Step 3: Open the Drain Valve
Next, connect a garden hose to the water heater's drain valve and run it to your drain or receptacle. Open the drain valve manually or with a flathead screwdriver to release water from the tank. Sometimes, sediment buildup inside the tank can clog the drain valve and prevent you from removing the water. Call a plumber or service technician for assistance if you can't flush the tank.
Monitor the water coming from the drain valve and continue flushing the system with cold water until you no longer see sediment flowing from the tank.
This image is only being used as example and may not reflect the specific unit or part that you may be troubleshooting.
Step 4: Close the Drain Valve
Close your water heater's drain valve when the water runs clear. Remove the hose and empty the bucket down the drain. Continue running the hot faucet for at least 3 minutes to remove any trapped air from the system.
Step 5: Turn on the Power Supply or Open the Gas Line and Relight the Pilot Light
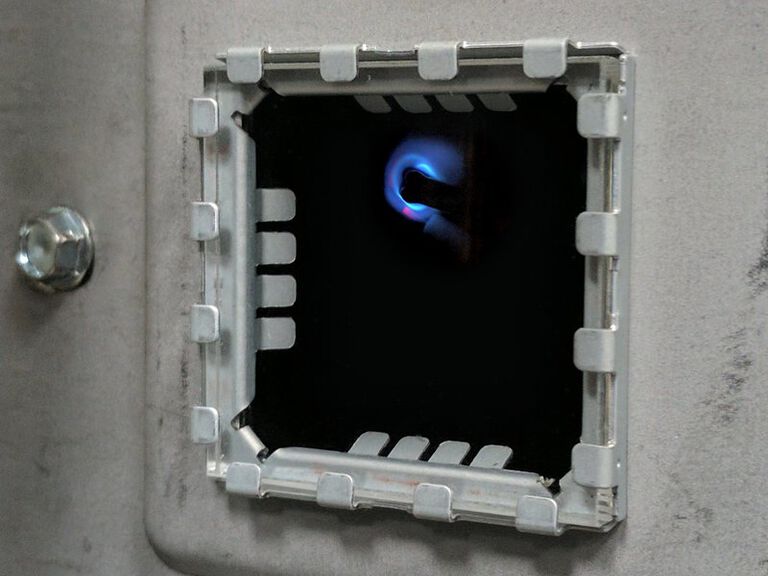
Finally, you can turn your water heater back on. Restart an electric water heater by turning on the breaker switch at your home's main panel. If you have a gas unit, open the gas line and follow your manufacturer's instructions for relighting the pilot light.
How to Descale a Tankless Water Heater
You won't need to flush a tankless water heater because these units don't have a water storage tank. However, descaling a tankless unit is more complex than a tank system and requires different tools and supplies. A professional plumber can descale your tankless water heater for you if you're not confident in your ability to descale the unit correctly.

Step 1: Purchase a Water Heater Descaling Kit
Tankless water heater descaling kits contain all the necessary equipment to descale your unit, including a pump, hoses and specialized cleaning solution. You can purchase a descaling kit online or from a DIY store.
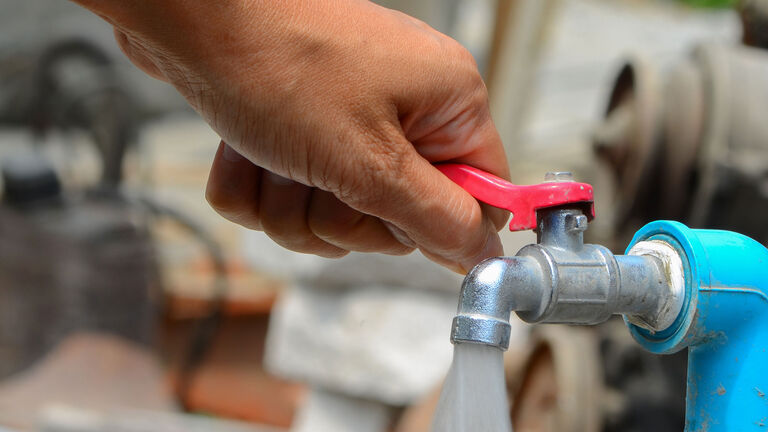
This image is only being used as example and may not reflect the specific unit or part that you may be troubleshooting.
Step 2: Turn Off the Cold and Hot Water Valves and Gas If Necessary
Always turn off the hot and cold water supply before flushing a tankless water heater to prevent leaks. Your system has two isolation valves — red for hot and blue for cold. Switch off the water supply by turning the valves until they sit at right angles to the adjacent pipes. If you have a gas water heater, turn off the gas supply before proceeding to the next step. Some tankless water heaters require the bypass valve to be in the correct position or to be set to a “service mode” before you descale it. Follow the manufacturer's instructions to do this.
Units with Water Control Bypass Valves Only: The water control (bypass) valve needs to be properly positioned to ensure that the descaling solution circulates through the heat exchanger.
A. Set the temperature of the heater to a minimum of 140 degrees.
B. With power on, flow as much water as possible through the heater (for example, run hot water in a bathtub).
C. After 140 degree water is leaving the unit, disconnect the power to the heater while the heater is operating. Turn the fixture (such as the bathtub faucet) off.
*If your unit does not have a water control bypass valve, skip 2-A through 2-C and continue to Step 3.
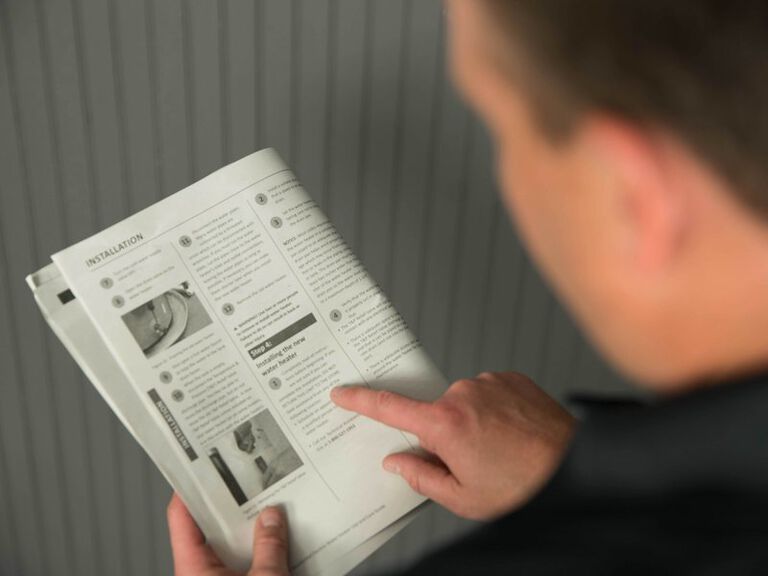
This image is only being used as example and may not reflect the specific unit or part that you may be troubleshooting.
Step 3: Connect the Hoses to the Heater’s Inlet and Outlet Valves
Next, connect the hoses from your descaling kit to your water heater's inlet and outlet valves. Your user manual should explain where to find the valves on your specific model. Depending on the manufacturer, you may need to remove service caps from the valves before connecting the hoses.
Attach the hoses tightly to prevent leaks while flushing your system. If your kit doesn't include hoses, washing machine hoses are often a suitable alternative.
Step 4: Connect Hoses to the Circulation Pump
Follow the instructions included with your flushing kit to connect the hoses to the circulation pump. Usually, you'll need to connect the inlet hose to the pump's discharge port. Place the pump and the end of the outlet hose inside the bucket.

This image is only being used as example and may not reflect the specific unit or part that you may be troubleshooting.
Step 5: Add Water and Cleaning Solution
Add the supplied cleaning solution and clean water to the bucket. How much water you need to use depends on the solution, so you should use the quantities stated in your kit's instructions. Most products require at least a gallon of water to dilute the detergent.
Step 6: Open the Water Valves
Open the hot and cold water valves on your tankless water heater. Opening the valves allows water and cleaning solution to circulate throughout your system.

This image is only being used as example and may not reflect the specific unit or part that you may be troubleshooting.
Step 7: Turn on the Pump
Plug the circulation pump into an electrical outlet and switch it on. You'll usually need to circulate the cleaning solution for 45 minutes to remove sediment from your system. However, circulation times vary significantly between products, and you should defer to the instructions with your flushing kit.
Step 8: Flush Out the Cleaning Solution
Turn off the circulation pump, disconnect the hose from the inlet valve and replace the service cap. Empty the bucket and place it back under the water heater, putting the outlet hose inside. Leave the hot water valve turned off, and turn on the cold water valve to allow clean water to flow through your system. The water will flow through the outlet hose and into the bucket.
Flush your water heater with cold water for at least 5 minutes to remove any remaining cleaning solution. You may need to turn off the inlet valve periodically to allow you to empty the bucket.
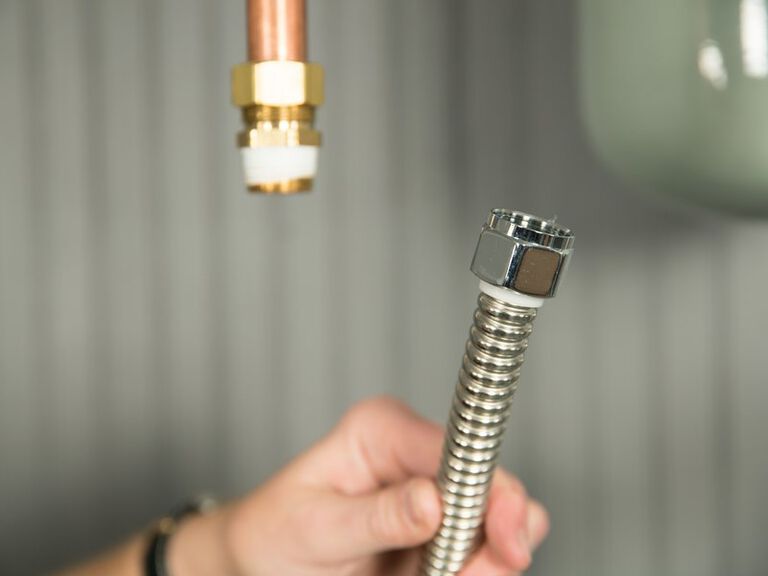
This image is only being used as example and may not reflect the specific unit or part that you may be troubleshooting.
Step 9: Clean the Inlet Filter
To remove any remaining sediment, clean the inlet filter with a brush, a spray of water or compressed air.
Step 10: Detach The Pump Hoses From the Heater
Once you've finished flushing the cleaning solution from your water heater, close the cold water valve and remove the outlet hose. Replace the service cap and empty the bucket down a drain. Clean and dry the hoses and circulation pump and store them safely for next time.
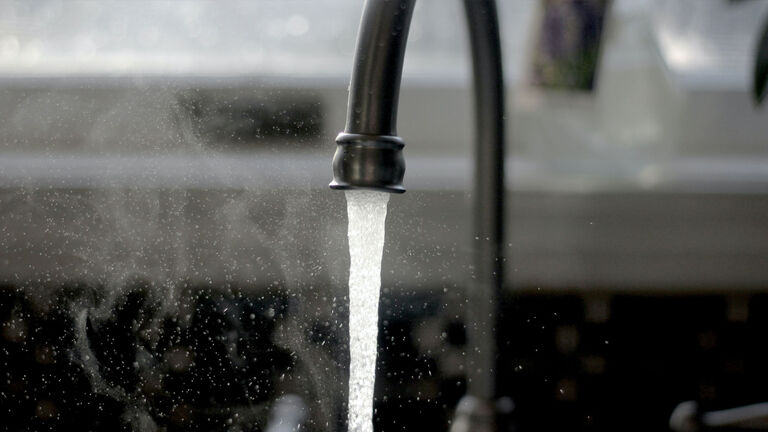
This image is only being used as example and may not reflect the specific unit or part that you may be troubleshooting.
Step 11: Turn on Water and Gas If Necessary
You can now turn on the hot and cold water valves and switch the gas supply back on. Turn on a hot faucet and allow the water to flow for a few minutes until any trapped air escapes. The tap should stop spluttering when you've released the air from your system.
Flushing your tank or descaling your tankless water heater is an effective way to prolong its life span. When the time comes to replace your water heater, choose the most suitable model for your household's needs by using our water heater selector and contact a local installer.
Need support with an existing model? Our online water heater support center can help you find replacement parts, locate product literature and find local service providers for maintenance or issues under warranty.

Find A Local Water Heater Pro
A. O. Smith water heaters are professionally installed by local independent contractors.
Why A. O. Smith?

A. O. Smith is a leading manufacturer of both residential and commercial water heating technologies, including the #1 most specified commercial water heater.

For more than 145 years, we’ve developed state-of-the art products that push new boundaries and improve the lives of our customers.

We combine cutting-edge technology with committed people who take pride in providing the very best support for our customers.

Our products are put through rigorous quality and endurance testing so now matter where hot water is needed, A. O. Smith can provide a solution you can count on.